My usual painting disclaimer: Please note that this tutorial is about painting an army, not winning painting competitions. I'm not even close to a Golden Daemon standard miniatures painter, and neither do I aspire to be one. The important thing for me with my miniatures is that they look good on the table, and that means they only have to look good at arms length.
Dark Angels chapter symbol, step by step:
- Paint a cross
- Turn the cross into a sword
- Paint the basic shapes of the wings
- Fill in with white and clean up
- Finish the wings
- Clean up
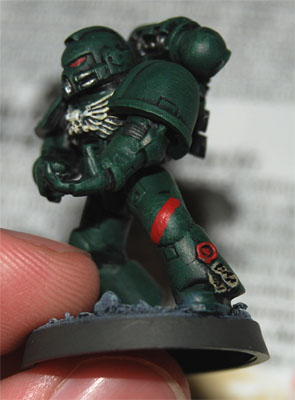
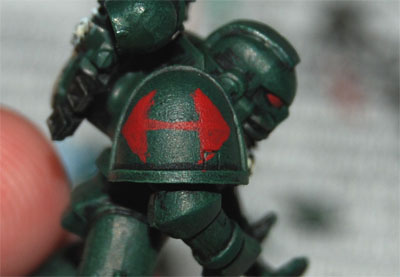
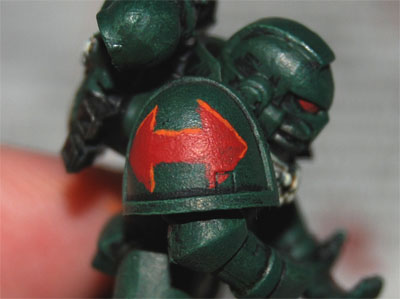
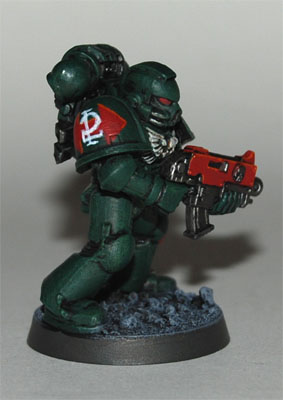
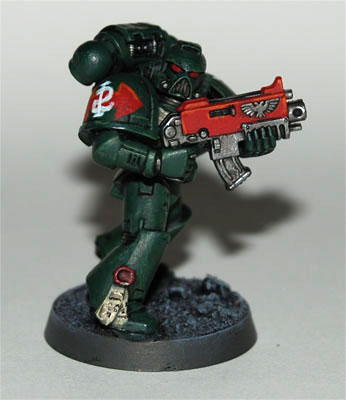
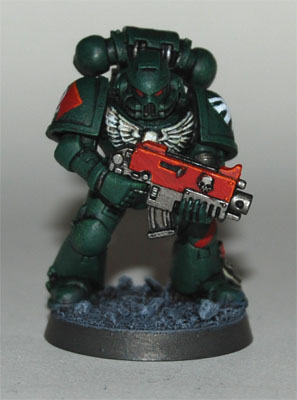
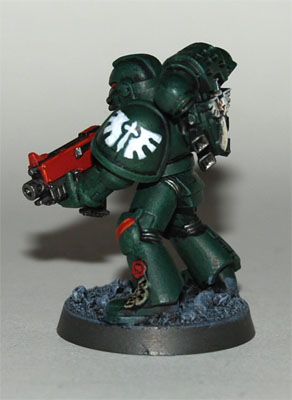
Now, it's time to turn a green space marine into a Dark Angel!
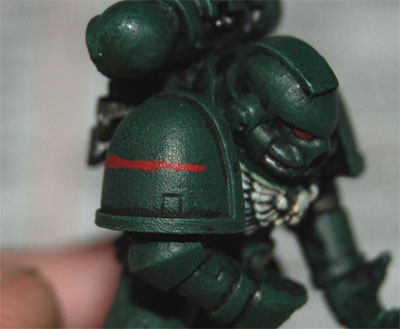
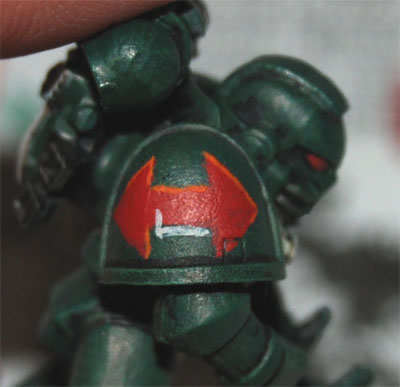
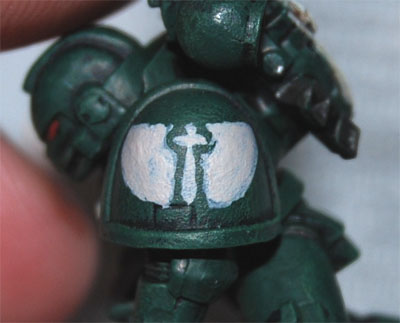
1. Paint a cross
To begin with, I paint a thin cross. This will become the sword. Not completely straight? Never mind! It'll look great when it's finished!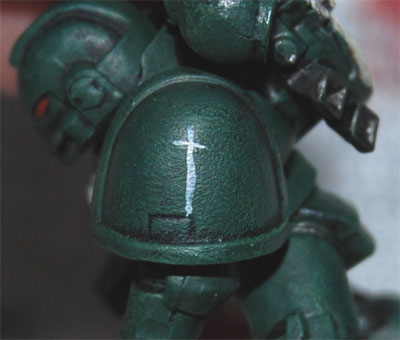
For steps 1-3 I use thinned down Dheneb Stone, as it gives better coverage than Skull White.
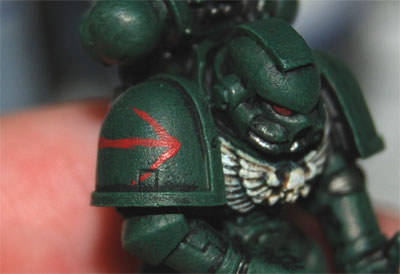
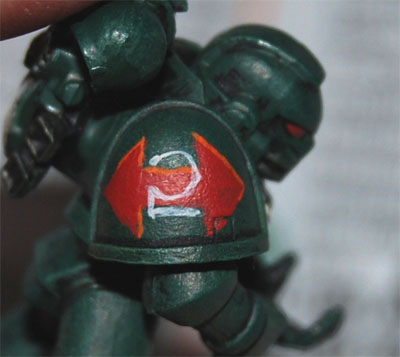
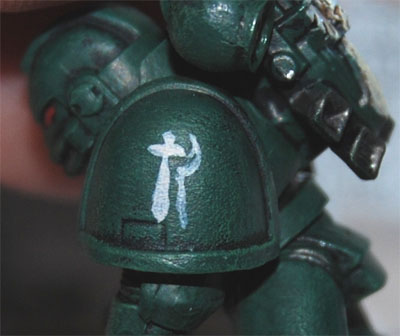
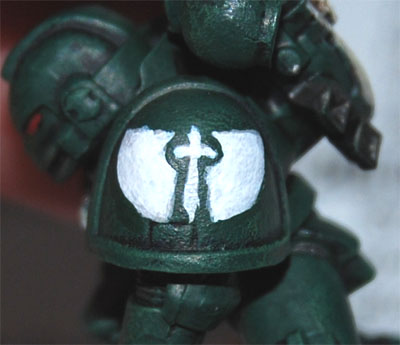
2. Turn the cross into a sword
Now I flesh out the cross and turn it into a sword of sorts.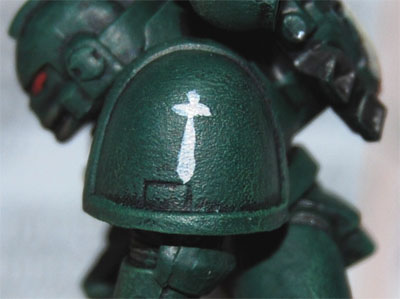
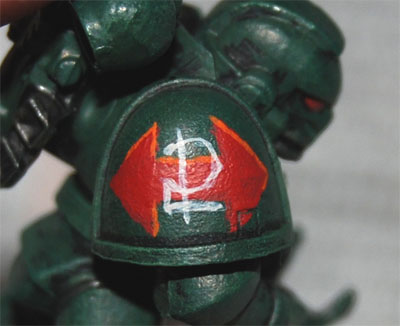
3. Paint the basic shapes of the wings
Now I paint the contours of the wings. Here's how I do it, step by step: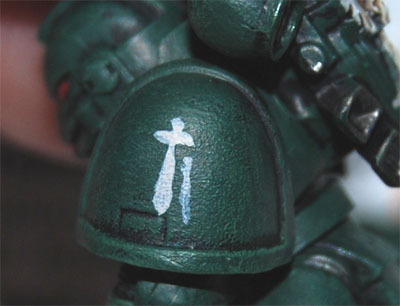
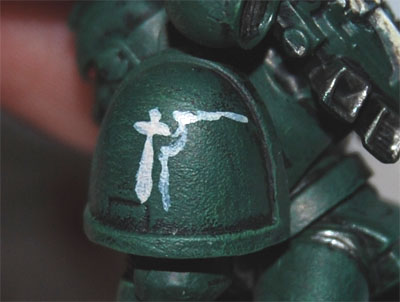
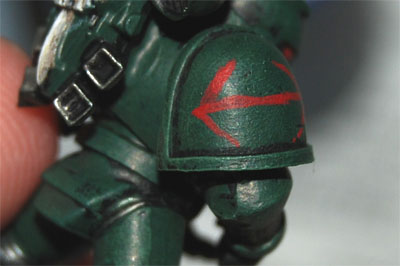
Now, I just mirror the design on the other side for the left wing:

When this is done, I fill in the wings with Dheneb Stone.
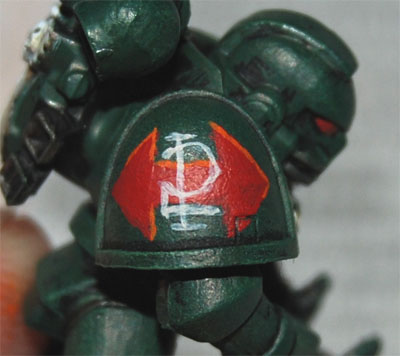
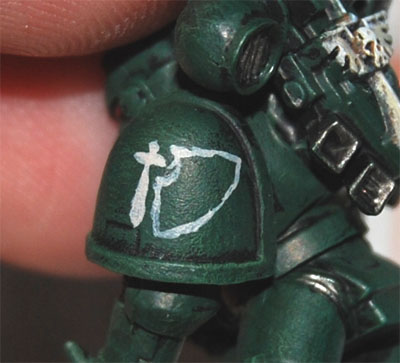
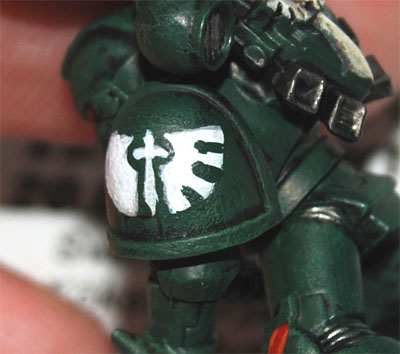
4. Fill in with white and clean up
Now it's time to fill in the entire design with Skull White. Skull White really needs to be thinned down, so I mix in plenty with water and paint several coats. It's important to let each coat dry before applying the next.After the white paint is completely dry, I clean up the edges a bit with Orkhide Shade.
5. Finish the wings
To get the "feathers", I just paint Orkhide Shade over the Skull White, starting in the middle.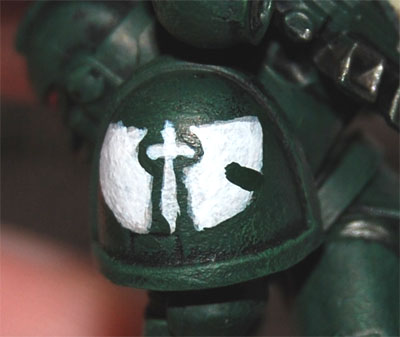
Two more strokes with Orkhide Shade finishes off the right wing.
Then I just do the same thing with the left wing, and I'm almost done!

6. Clean up
If I need it, I finish up with some more Skull White and Orkhide Shade to clean up the design. But, as I keep reminding you (and myself!), it doesn't have to be perfect!Right! The anonymous green space marine from the first two tutorials is now a proper Dark Angel!
As always, thanks for reading.
If you like or dislike this article, please leave a comment and let me know!
You can also e-mail me at stitch [at] roll2dice [dot] com.
/Stitch