If you haven't read Parts 1 & 2, you can find them here:
- Terminator Weapon Swaps made Easy with Magnets, Part 1
- Terminator Weapon Swaps made Easy with Magnets, Part 2
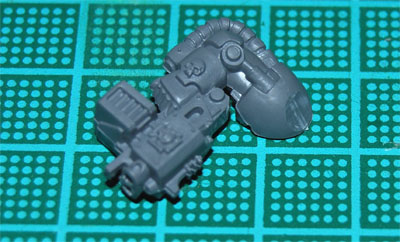
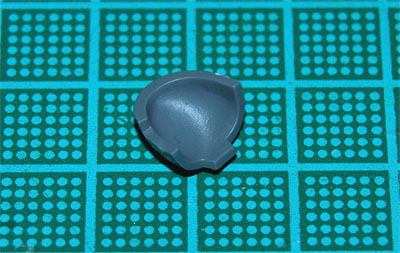
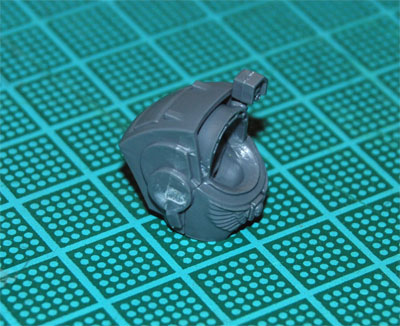
The Shoulder Pad
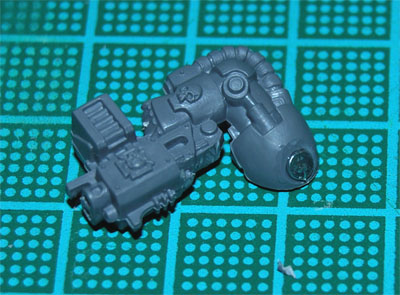
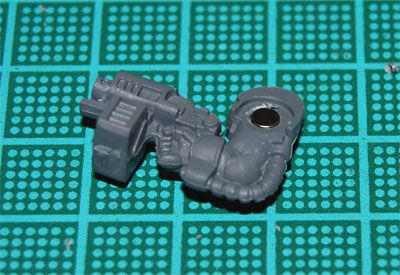
This is how I attach the should pads with magnets.First you slice off a bit of the shoulder.
You then drill a hole as a guide, as I explained in Part 2.
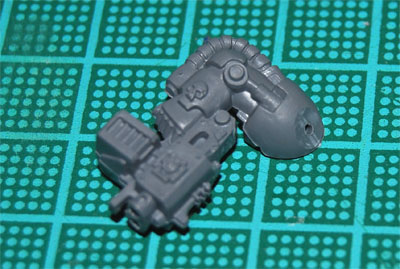
Expand the hole a bit, so that a nail will fit, pretty much like we did in Part 2, except with a slightly smaller nail.
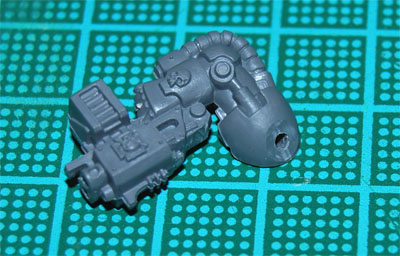
The nail I use for this step has a head that's about 2.5mm.
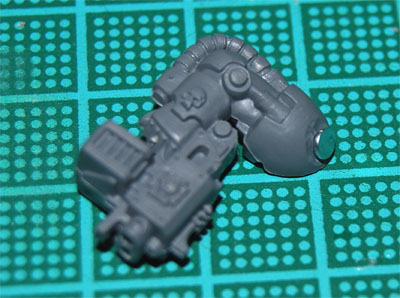
"Sink" the nail a bit, by carving away some material around the hole, like in Part 2, but it doesn't have to be as deep. It's ok if it sticks up a little bit. When you're happy, glue the nail in place.
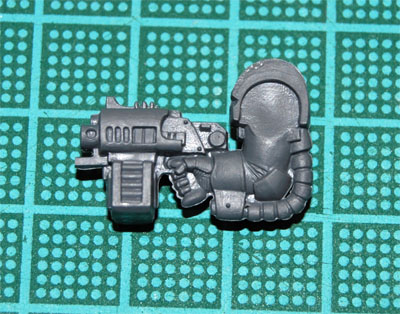
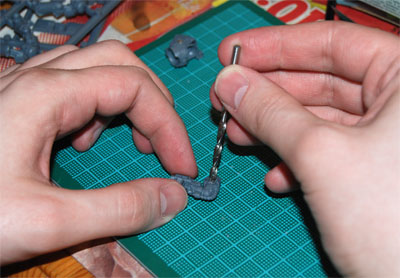
Here comes the tricky part, because the shoulder pad is so thin.
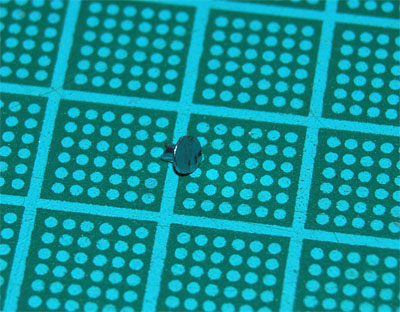
Carefully drill another guide, about 3mm from the edge. Make sure you don't drill through the pad! You almost only want to make a small pit, not really a hole.
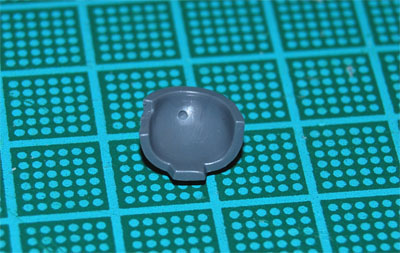
Expand the hole, again very carefully, with a 1.5mm drill. You just need enough to sink the magnet a bit.
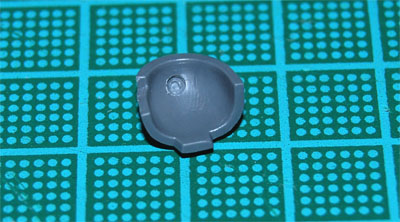
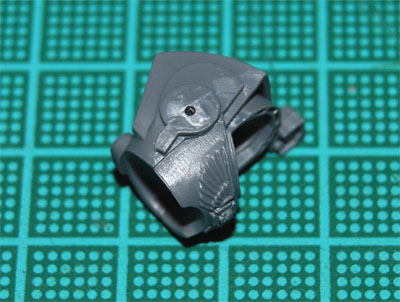
When you're done, just glue a magnet in place. If you're careful not to glue any magnets together, it's handy to use the magnets themselves as a sort of handle to maneuver the magnet in place. After the glue sets, you can easily leave it to dry by sticking them somewhere. In this case, I just attached the stack of magnets to a can of Quick Shade.

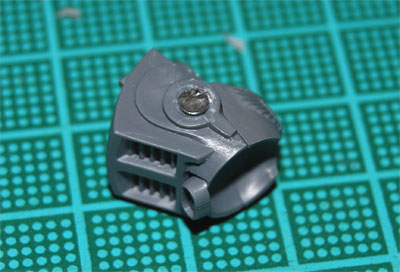
When the glue has dried, you're done! Now all you need to do is prep some more arms and torsos and you'll have all the flexibility you want!
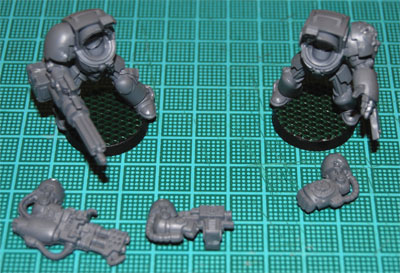
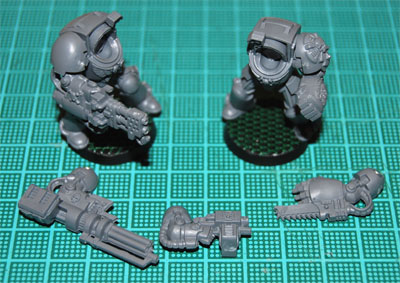
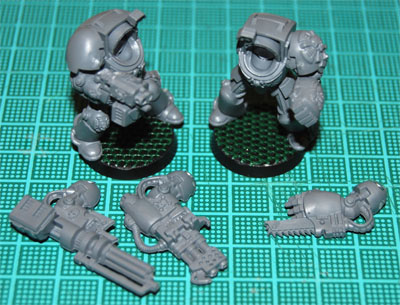
By being able to remove the shoulder pads seperately, you also get the added bonus of only having to paint each one once. Handy, if you freehand them like I do. :)
Thanks for reading. Keep those comments coming!
See you on 1 may, with an update on my army for Da DeffCup!
Best regards,
Stitch


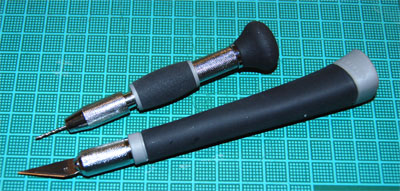 Hobby drill and knife.
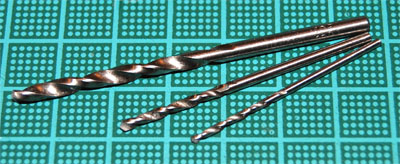 Drill bits; these are 1.5mm, 2mm and 3.2mm.
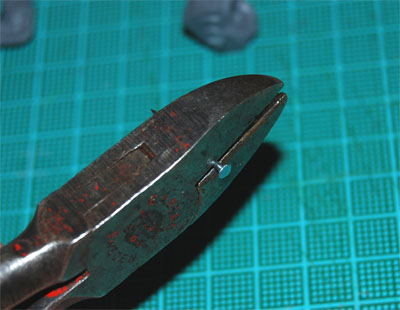
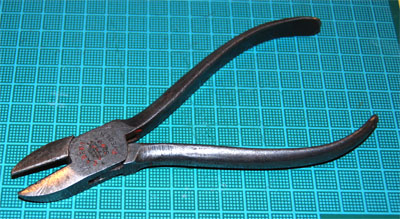 You need a proper wire cutter. A small cutter like you use to cut bits from sprues just won't "cut it"... :)
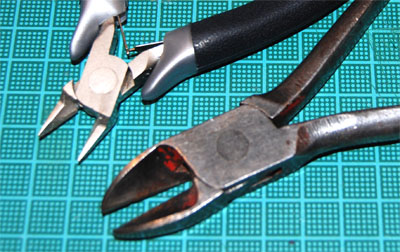 Notice the difference? Later on in the tutorial, we'll be cutting nails. (Not finger or toe nails!) The smaller cutter would be ruined, and you risk hurting yourself when bits of it breaks off and flies towards your face at high velocity.
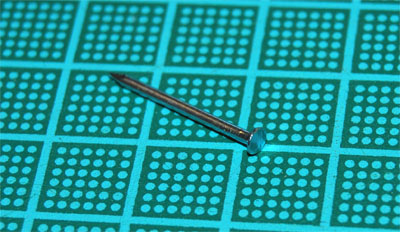 Flat headed nails in a couple of different sizes.
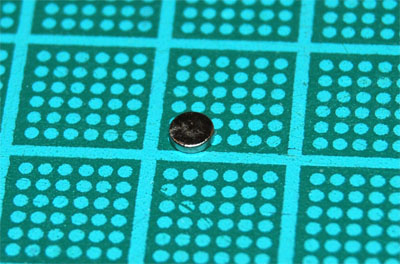 This is a Neodymium disc magnet from
 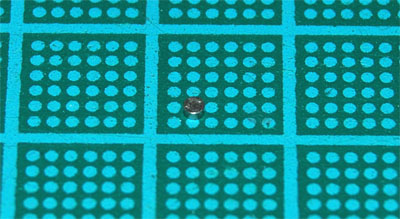 This one is even smaller! Also from