The first part of this series is here:
The Sword Arm
With a couple of straight cuts with my trusty scalpel, I ended up with these bits.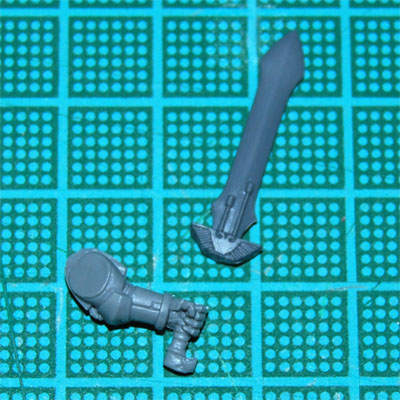
As you can see, I've removed the guard, from the original chainsword, that was covering the fingers. This was also easy with the scalpel.
And, after a small amount of plastic glue and some adjusting, here's the finished left arm:
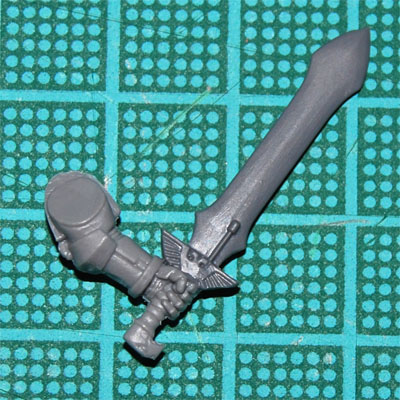
And the outside:
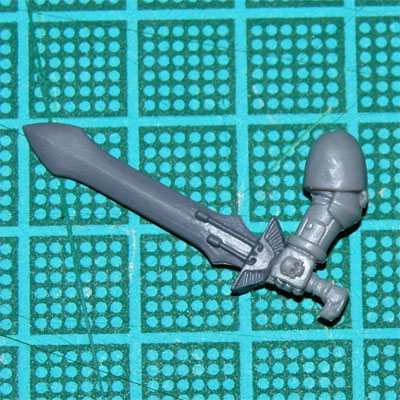
The terminator sword is actually not that much bigger than the standard sword, but a bit beefier. I think it will look pretty good.
The Chest
Another couple of slashes with the scalpel freed the dangling winged sword symbol from its string. The plan is to glue it onto the chest, like this: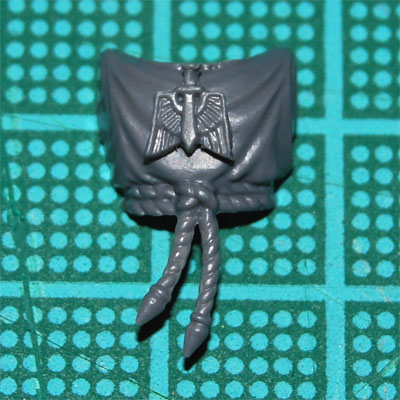
It's not glued in place yet, so if you want to protest, please go for it! I'm not entirely sold on the idea yet, myself, so if you have another idea, let me hear it.
The Helmet
No cutting needed here, except to remove some mould lines. If you remember from part 1, I was worried the wings would look weird on this particular helmet, but I'm starting to let go of the worries... I think it looks promising. Please let me know what you think.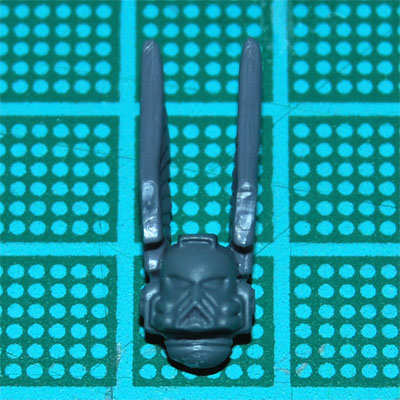
Side view:

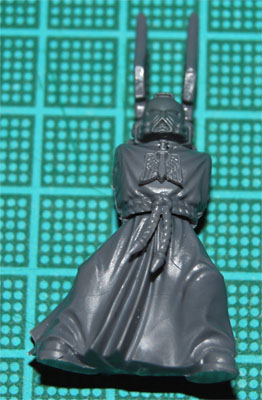
Here are a couple of full body pictures, minus the arms. (By the way, I still haven't settled on a right arm, but I'm getting closer. By the next update, I'll have one, I promise.)
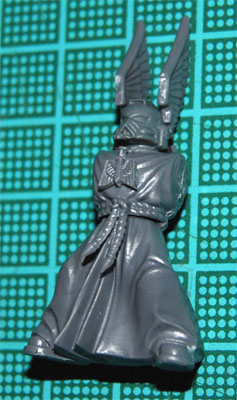
Side view:
Don't be afraid to tell me what you think. All comments are greatly appreciated!
/Stitch