- Terminator Weapon Swaps made Easy with Magnets, Part 1
- Terminator Weapon Swaps made Easy with Magnets, Part 2
- Terminator Weapon Swaps made Easy with Magnets, Part 3
Here's a tutorial on how you can magnetize your special weapons on ordinary Space Marines to make it easy to swap them out between battles!
Stuff you need
You need a couple of small drills, I use a 1.5mm and a 2mm. And of course, you need some magnets.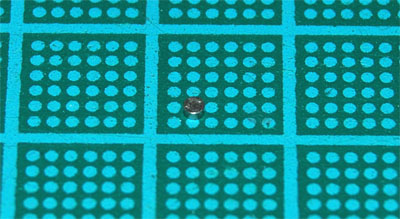 This one is from K&J Magnetics and is 1/16" x 1/32".
Let's go!
First, drill a small guide "pit", using a small drill. The reason I do this is because it is easier to hit the spot you want. I find that I often miss the spot when I go for the bigger drill right away, without the guide.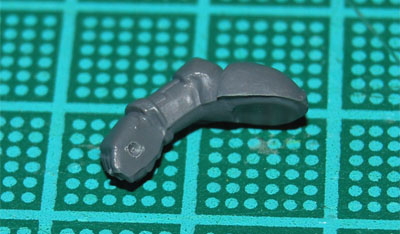 Now you expand the pit and make it deeper, using a 2mm drill. Try to fit a magnet in the hole now and then, and just keep expanding the hole until the magnet fits. You want it sunk deep enough to be level with the edge of the hand, you don't want it sticking up. When the hole is big enough, you glue a magnet in place.
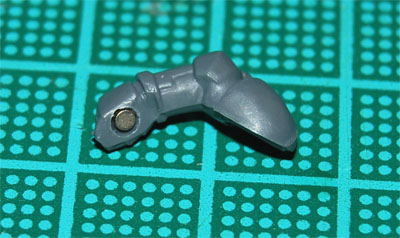 NOTE! You need to watch the polarities of the magnets so they actually attract each other. For the very first magnet you glue in place, this doesn't mean a thing. But after the first, this gets VERY important.
Now we do the same thing with the chosen weapon. Drill a guide...
 And expand the hole...
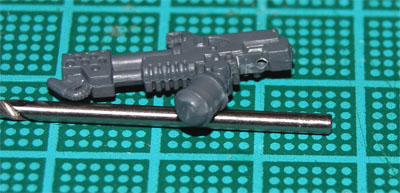
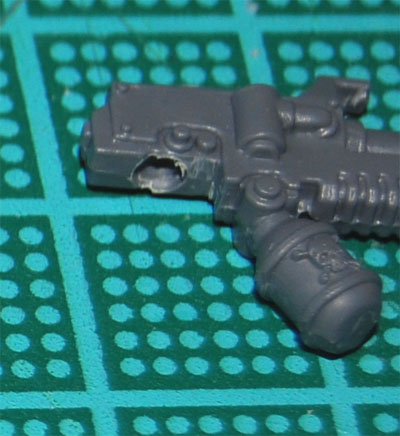 Now, here's a tip on how to keep the polarities correct. Use a stack of magnets as a sort of handle.
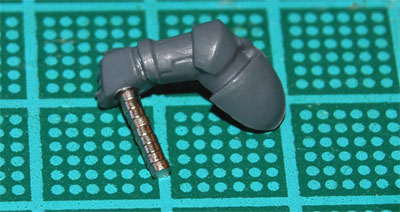 When you glue the magnet in place in the weapon, you'll know that the polarities are correct.
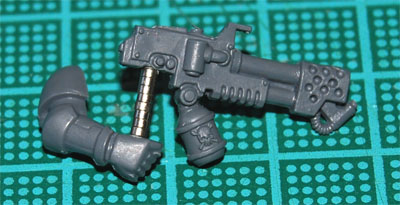 After the glue is dry, you just remove the excess magnets and you're done! The left hand doesn't need a magnet, the weapon will stay in place anyway.
So, you just glue the arms in place on the model as you normally would. But now, with a few more weapons and magnets, you have the option of switching special weapons between games.
Again, remember what I said about polarities, or you may end up with weapons that attach to some figures and not to others. Whenever I glue a magnet into a new arm, I use a weapon as a handle. That way, I know all my weapons will fit all my figures!
 Here are a couple of Veterans from a Command Squad I'm currently working on:
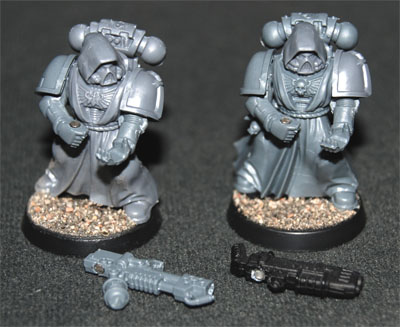
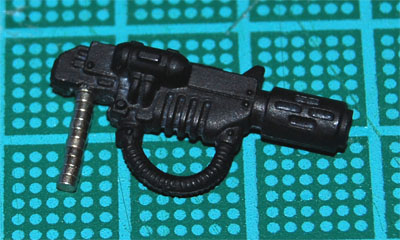
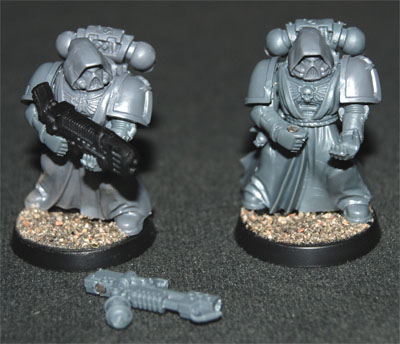 As you can see, switching special weapons is a piece of cake!
I hope you found this tutorial helpful. Even if you didn't, comments are always welcome, so keep 'em coming! :)
/Stitch
 Here are some photos:
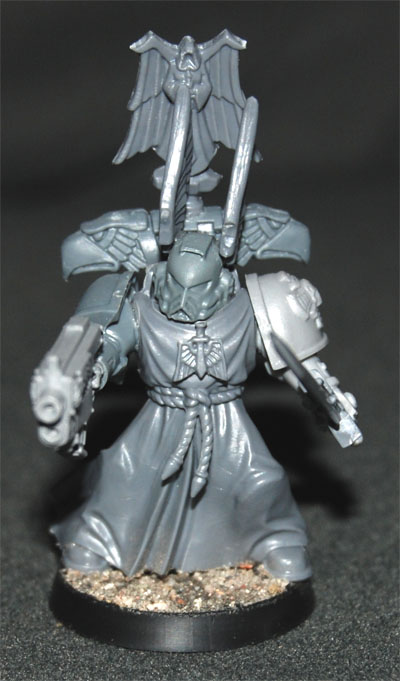 Master of the 3rd Company. Ready for primer.
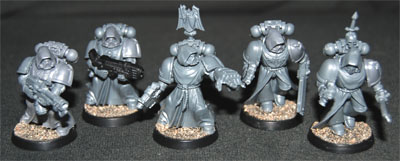 Command Squad of the 3rd Company. Ready for primer.
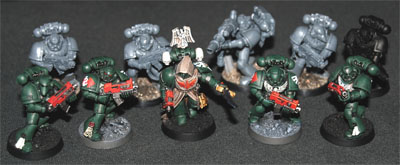 2nd Tactical Squad of the 3rd Company. Two marines done. One primed, four ready for primer. Three almost done.
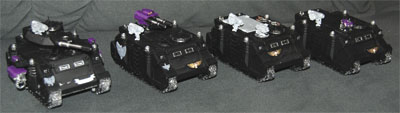 Predator, Command Razorback and two Rhinos. These have all been scavenged from one of my unfinished projects, the DIY Space Marine Chapter the Knights Repentant. They will all be re-primed in black. I have added Hunter Killer Missiles to them all. The one on the Predator is held in place with magnets and the others are pinned, but not glued, in place, so they can all be removed for easy storage without breaking them. You probably can't see it in this picture, but three of the HKM's have custom made mounts, and these will be the topic of one of next month's updates!
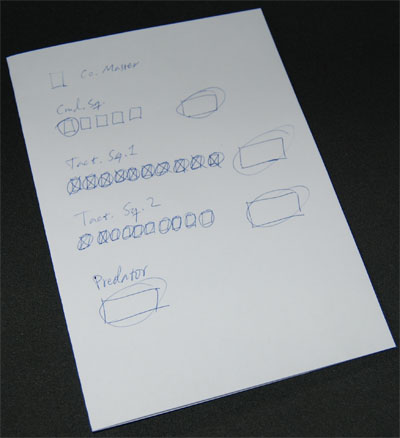
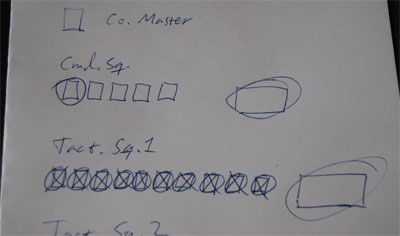
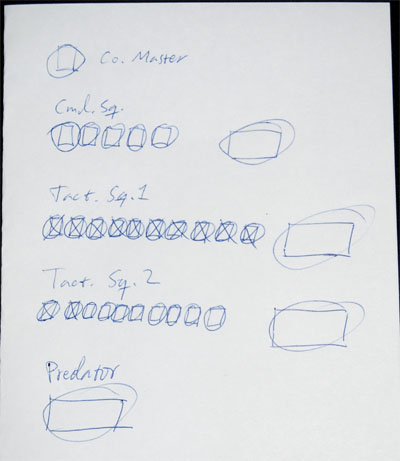
 Even though the Company Master is fully assembled, he's not based yet, so doesn't get a circle on the goal sheet just yet.