My usual painting disclaimer: Please note that this tutorial is about painting an army, not winning painting competitions. I'm not even close to a Golden Daemon standard miniatures painter, and neither do I aspire to be one. The important thing for me with my miniatures is that they look good on the table, and that means they only have to look good at arms length.
Dark Angels robes, step by step:
- Basecoat
- Shade, wash
- First highlight, heavy drybrush
- Final highlight, light drybrush
- Rope: Wash
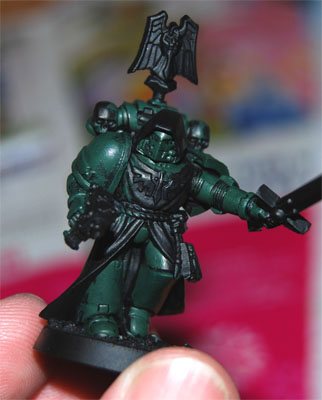
Right, here he is, the Veteran Sergeant of 2nd Tactical Squad, 3rd Company:
The armour, metal bits, markings and bone coloured details will be painted in exactly the same way as in my earlier tutorials, so I won't repeat every step here. You can check them out here:
- Painting Tutorial: Dark Angel Space Marine
- Painting Tutorial: Dark Angels markings, part 1
- Painting Tutorial: Dark Angels markings, part 2
Here we go...
1. Basecoat
First, paint the robe with Khemri Brown. Even though it is a Foundation Paint, two coats may be needed to get an even coat.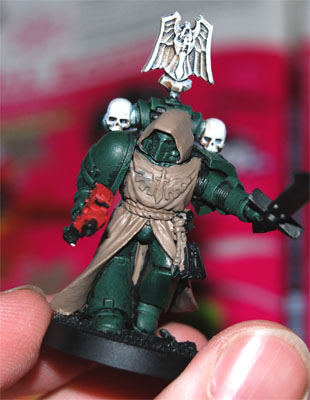 As you can see, I have just painted over the Dark Angels insignia on his chest. This will be painted red later on, to stand out and add some contrast.
2. Shade
Now splash on a generous wash of Devlan Mud, to provide some basic shading.
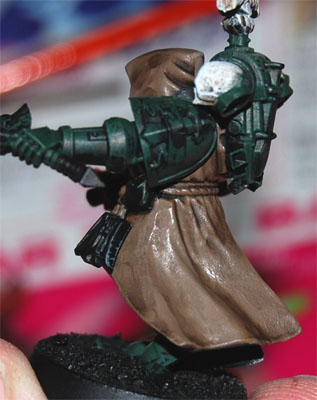
And from the back:
3. First highlight
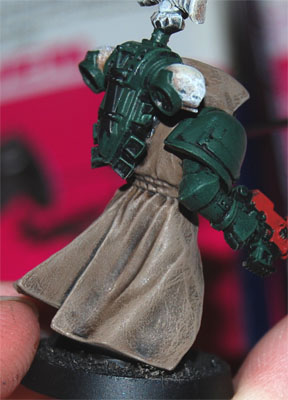
Give the robe a heavy drybrushing of the base colour, Khemri Brown, for the first highlight. Ignore the piece of the robe showing between his legs. It's difficult to reach, and it'll look better shaded anyway.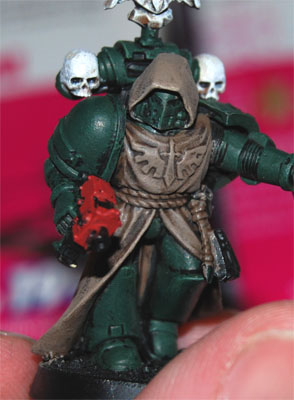
And again, here's a view from the back:
4. Final highlight
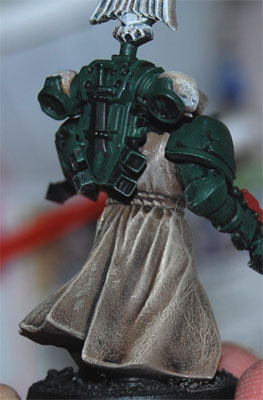
For the final highlight, drybrush the robe lightly with Bleached Bone. Pay special attention to the edges. Again, never mind the piece of robe showing between his legs.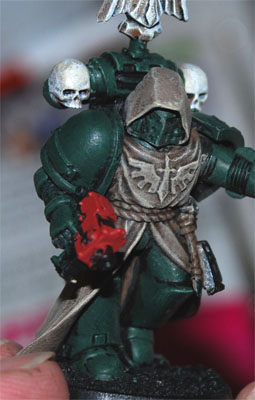
Back:
Almost done...
5. Rope
Now you just give the rope a wash of Badab Black, and you're done!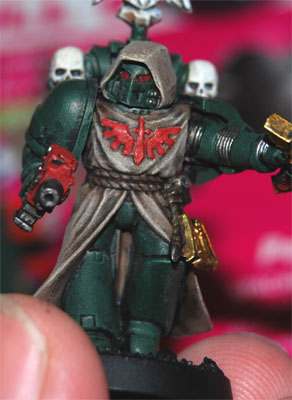 This last image is from a later stage of the painting process. You'll see more of this guy in next months update...
Of course, there's a million different ways of doing it, but this is how I paint the robes on my Dark Angels. It's quick, it's easy, and it looks good enough, I think. Please tell me what you think by leaving a comment, or emailing me.
/Stitch


5 comments:
I'd say it looks darn nice.
Certainly good enough for me to consult when I paint my DA's. :)
Thanks James!
I'm glad if you find it informative!
/Stitch
Wicked cool way of doing it you helped my alot, i was dreading doing the robes of my DA's but you helped alot.
Thank you very much for this Tutorial.
It was the first method which gave me a decent outcome.
Post a Comment