Showing posts with label 3rd co. Show all posts

Thursday, 3 February 2011

Progress report: 3rd Tactical Squad

Wow... First post since july.... And the first post of 2011! Let's see if I can breathe som life back into this blog, eh?

The good news is that I'm feeling a lot of motivation coming back, so I've actually picked up my Dark Angels project again, right where I left it: the three marines from 3rd Tactical Squad, 3rd Company.

And here they are:

WIP


As you can see, they're almost done. So, what prompted this activity? Well, recently, there's been a lot of hobby activity in the local 40k community, and it's really inspiring! I decided to organize a painting night and invited some friends, and it was great fun! We were six people, talking, laughing and painting. Hopefully, we're doing this again soon.

WIP


These guys just need some minor highlighting done, and of course the chapter symbol on their left shoulder pads. That's next session, and then I get to finally cross out some more men on my goal sheet!

/S

Monday, 5 July 2010

Another monday, another painting session

Honestly, I didn't really feel like painting today, but I did anyway. Again, it was just a little, but I did finish all the skulls and chest eagles on the three marines I'm working on. Sorry, no picture.

I do feel that I'm getting closer, though. Another session, or two, and these marines will be done. Only three models done in several months may seem like nothing, but compared to zero, it's actually quite a lot!

See you next week!

/S

Monday, 28 June 2010

Progress report: 3rd Tactical Squad

Last monday, I decided to start painting at least a little bit each week. So, for today I continued painting the three marines from last week.

Today's grand total: Metal bits

That's it. Not much, but a hell of a lot more than nothing. :)

And here they are:

WIP


I'm really glad the project is moving forwards again.

See you next week!

/S

Monday, 21 June 2010

Painting again

(Wow, I just realized this blog has been dead for eight months... That is sad. I haven't even been building or painting anything for those eight months, either, which is even more sad...)

Today, I finally dug out some Space Marines that I started painting months ago, and took the time to sit down and dip some brushes. It felt really good. The new plan is to do what I did last year, paint at least a little every week, but on mondays.

So, what did I do tonight?

Three marines, two with bolters and one with missile launcher, got a touch up on their Orkhide Shade base coats, and also got a brand spanking new base coat of Mechrite Red on their shooty bits.

Not much, but it does bring me that much closer to my goal of a complete Battle Company.

I'm really glad I did this tutorial a couple of years ago, because it's now been so long since I painted, I need it to remember what to do!

Saturday, 17 October 2009

3rd Co. Command Squad - DONE!

Yes! Tonight, I finished the Company Master and his Command Squad, and it feels really good!

Pictures? Coming up!

Photobucket


Photobucket


Photobucket


Photobucket


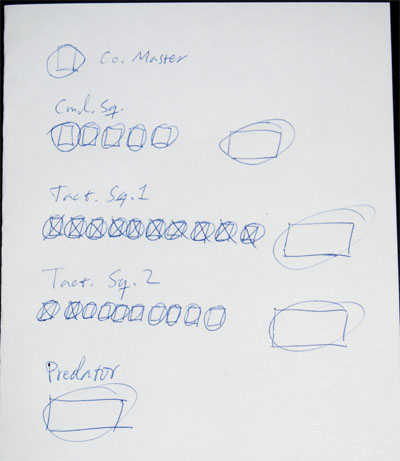
That means six more boxes crossed on my 1000pt army Goal Sheet...

Photobucket


...but it also means six more crosses on my Battle Company goal sheet!

Goal Sheet 3rd Co 2009-10-16


The command Razorback is about 35% done, as is the Predator. The second Rhino, though, got some more paint tonight, as well, and is at about 65-70%. I'm hoping to finish it next painting session.

See ya later!

/Stitch

Saturday, 10 October 2009

Progress Report: Company Master & Command Squad

I'm feeling pretty good after last night's painting session. I got more work done than I'd planned, which is really nice. I can definitely believe this squad will be finished in another session, or two, max.

Here are some pictures:

3rd Co Command Squad WIP 2009-10-09

The Master and the Sergeant (powerfist) are completely done, except for the bases.

3rd Co Master WIP 2009-10-09

I decided to paint the Company badge on their right shoulder pads, to mark them out as the Command Squad and connect them to the company.

3rd Co Cmd Squad Sergeant WIP 2009-10-09

And here's a close-up of the Chapter Badge on the Sergeant:

3rd Co Cmd Squad Sergeant WIP 2009-10-09

Already looking forwards to next Friday, when I'll sit down for another painting session!

/Stitch

Tuesday, 6 October 2009

New pictures! (Command Squad WIP + Rhino)

Yep, I'm finally going to show you what's been going on lately! :)

First up, here are the Company Master and his Command Squad, as of yesterday. Actually, I discovered that I lied in my last post. I listed what was left to do, but I forgot about highlighting the red bits, so add that to the list. Here they are, work in progress, remember: (click for bigger picture)

Company Master & Command Squad

And here's the finished Rhino of 1st Tactical Squad 3rd Company: (click for bigger pictures)

Photobucket

Photobucket

Photobucket

Photobucket

Photobucket

Photobucket

Photobucket

Photobucket

Photobucket

Photobucket

There are a couple of details I'm not 100% happy with: the "1" on the front should be centered, and I think the Chapter Badge on the left door is a bit wonky. But I decided right away that I won't re-do them. It would just waste time, as I think they're "good enough". I honestly think I won't even think about it when the tank is on the table with a bunch of other painted minis. On the whole, I'm just so darned pleased that I'm making progress, and I can't wait to field a completely painted army!

I want to thank Drathmere for his comment on my last post, and encourage everyone to visit his blog: http://40khobbyblog.blogspot.com/ (Great stuff!)

See you soon!

/Stitch

Friday, 1 May 2009

Progress Report: DeffCup 2009 1000pt Army

Time for a progress report. The tournament is about six weeks away and I'm a bit nervous! I haven't gotten any painting done in quite a while, but all the models are assembled. Is six weeks going to be enough for me to paint four tanks and 14 infantry? I think so, but I really need to get cracking!

So, here's what my Goal Sheet looks like as of 29 April:

Goal SheetHere are some photos:

3rd Co MasterMaster of the 3rd Company. Ready for primer.
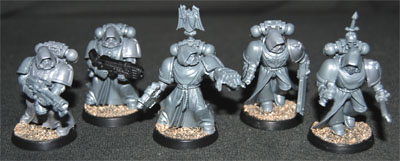
3rd Co Command SquadCommand Squad of the 3rd Company. Ready for primer.
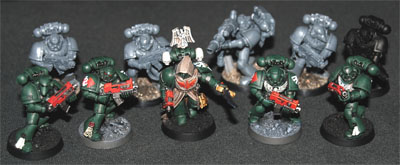
3rd Co 2nd Tactical Squad2nd Tactical Squad of the 3rd Company. Two marines done. One primed, four ready for primer. Three almost done.
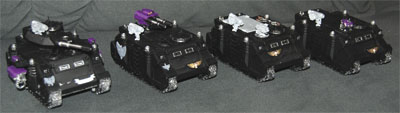
Tanks WIPPredator, Command Razorback and two Rhinos. These have all been scavenged from one of my unfinished projects, the DIY Space Marine Chapter the Knights Repentant. They will all be re-primed in black. I have added Hunter Killer Missiles to them all. The one on the Predator is held in place with magnets and the others are pinned, but not glued, in place, so they can all be removed for easy storage without breaking them. You probably can't see it in this picture, but three of the HKM's have custom made mounts, and these will be the topic of one of next month's updates!
Six weeks.... I better get painting!

/Stitch

Sunday, 1 February 2009

Building my Company Master, part 3: Assembly

Finally, it's time to glue all the bits together!

The first two parts of this series are here:
  1. Building my Company Master, part 1: The Bits
  2. Building my Company Master, part 2: Cut and Paste

The right arm

If you've read the first two parts, you know I've been having trouble deciding what arm to use. Well, it's finally decided! This right arm comes from the Devastator sprue:

Right arm bits
I hope you'll agree it's the "right" arm... Sorry... I had to...

Here it is with the combi-plasma attached:

Right arm bits
Unfortunately, the arm comes with the shoulder pad already on it, so I'll lose the chance of using one of the Dark Angels shoulder pads. Unless I cut it up, and I don't want to do that. I'll try to find something else, or freehand a winged sword on there, or something.

The Assembly

The assembly went really smooth. Having done a "dry run" (trying the bits together without glue) really helped.

So, after a few dots of plastic glue, here is the result so far:

Master WIP
I find it difficult to get good shots of the miniature, but you'll get the idea.

Master WIP
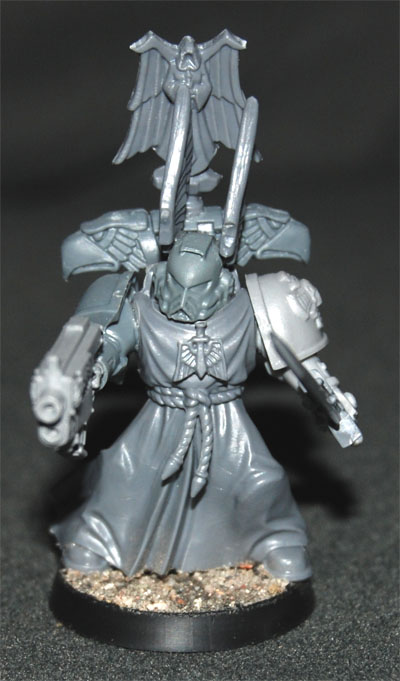
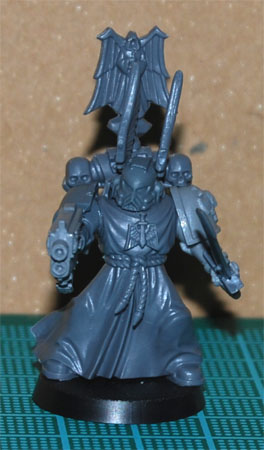
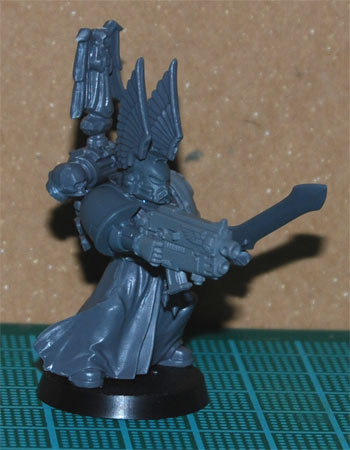
I really think the helmet works, even though the wings are huge. I did fret a little about the icon on the backpack being obscured by them, but the more I look at it, the more I like the mini. He looks beefed up and imposing, and that's how it's supposed to be. I think he'll stand out on the battlefield.

Master WIP

Master WIP
The backpack wasn't glued in place permanently, so I still have the option of going in another direction with it, but I think I may keep it like it is. What do you think?

Thursday, 1 January 2009

Building my Company Master, part 2: Cut and Paste

Here's where I start cutting bits into smaller bits and assembling them into new bits. :)

The first part of this series is here:
  1. Building my Company Master, part 1: The Bits

The Sword Arm

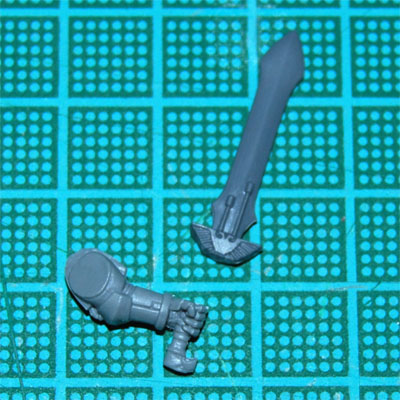
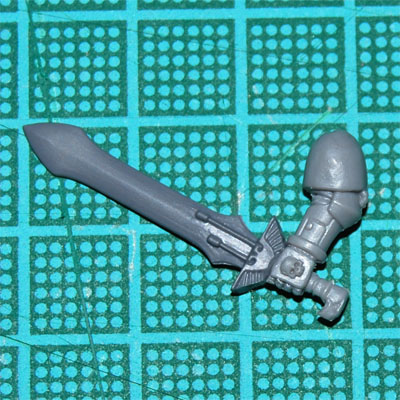
With a couple of straight cuts with my trusty scalpel, I ended up with these bits.

Sword arm bits
As you can see, I've removed the guard, from the original chainsword, that was covering the fingers. This was also easy with the scalpel.

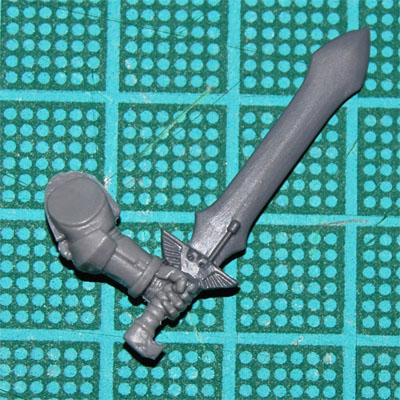
And, after a small amount of plastic glue and some adjusting, here's the finished left arm:

Sword arm
And the outside:

Sword arm
The terminator sword is actually not that much bigger than the standard sword, but a bit beefier. I think it will look pretty good.

The Chest

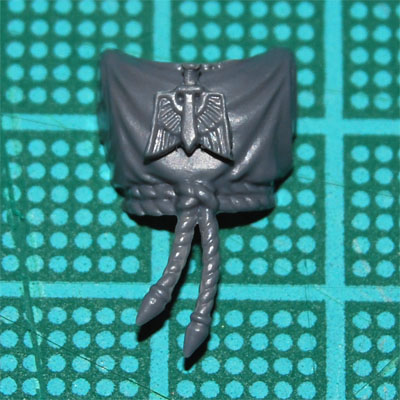
Another couple of slashes with the scalpel freed the dangling winged sword symbol from its string. The plan is to glue it onto the chest, like this:

Chest
It's not glued in place yet, so if you want to protest, please go for it! I'm not entirely sold on the idea yet, myself, so if you have another idea, let me hear it.

The Helmet

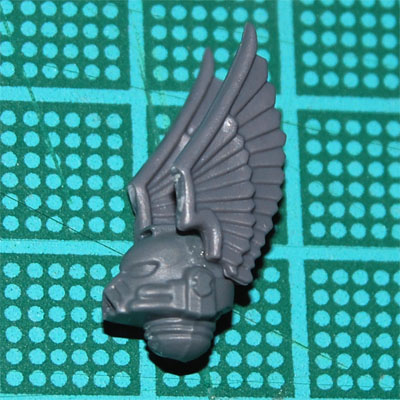
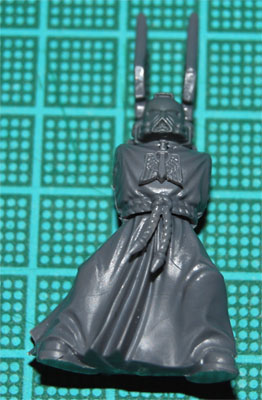
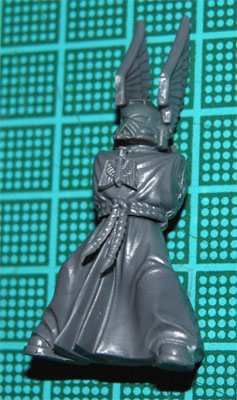
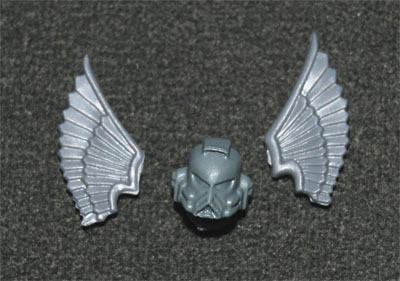
No cutting needed here, except to remove some mould lines. If you remember from part 1, I was worried the wings would look weird on this particular helmet, but I'm starting to let go of the worries... I think it looks promising. Please let me know what you think.

Helmet
Side view:

Helmet

Here are a couple of full body pictures, minus the arms. (By the way, I still haven't settled on a right arm, but I'm getting closer. By the next update, I'll have one, I promise.)

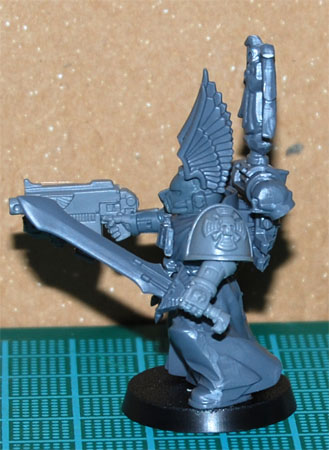
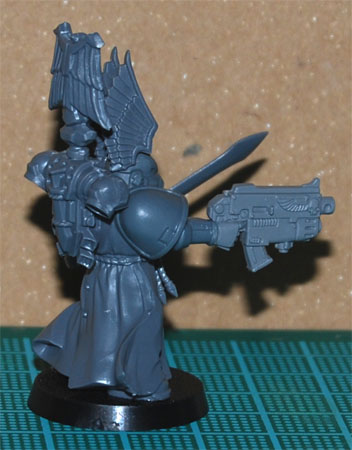
WIP
Side view:

WIP

Don't be afraid to tell me what you think. All comments are greatly appreciated!

/Stitch

Monday, 1 December 2008

Building my Company Master, part 1: The Bits

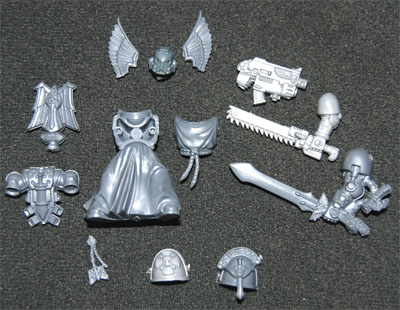
As I wrote in another post, I plan on building my own Company Master from the various plastic bits available. Here's a first look at what I'm going to use:

Company Master bitsI haven't decided on a right arm yet, I'm still looking at options.
Two left arms? Well, as I'm sure you've noticed already, the bottom one is a terminator arm. I think that power sword looks awesome so I'm going to do a switch on the arm with the chain sword.

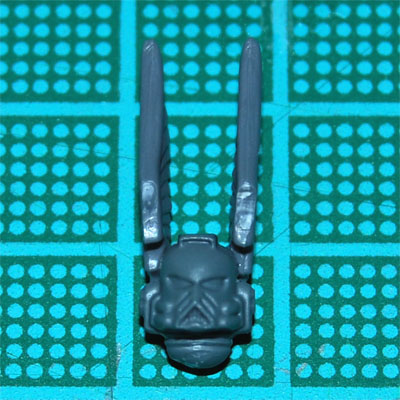
I'm not sure about the head. I think the Maximus pattern helmet (from the Black Templars upgrade sprue) will look great on a Company Master, but I'm not sure how it will look with wings on it.

Company Master bits, headWe'll have to see if it works. Check out next month's update!

/Stitch