If you haven't read Part 1, you can find it here:
The Arm
To let me swap the arms around, as described in Part 1, I'll put magnets in the shoulders of the arms, and put the head of a nail in the shoulder of the torso, for the magnets to stick to. Now, it's possible to save some magnets by doing it the other way around. But because the torso is hollow, I find it easier to get a nail in place instead of a magnet. You'll see why, later on.Let's go. Here's the arm to be magnetized:
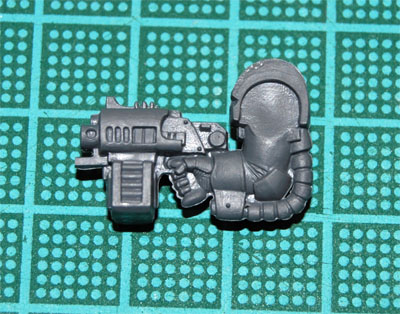
Using the model drill, I drill a hole to act as a guide. It doesn't matter that it's way too small, in fact I want it that way. That makes it easier to get it exactly where you want it, dead center.
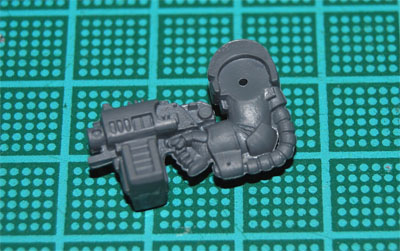
Now, using the 3.2mm drill, I expand the hole. The magnet I'm using is 1/8", which is just a little bigger than 3mm, so a 3.2mm drill fits nicely. The plastic is soft enough to use your hands to turn the drill. Just try to make sure you stay in the center, and the drill doesn't "travel".
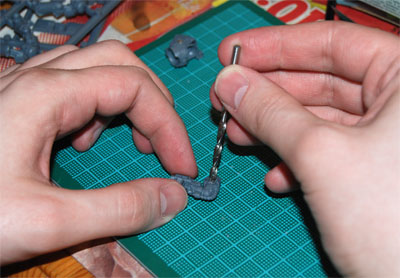
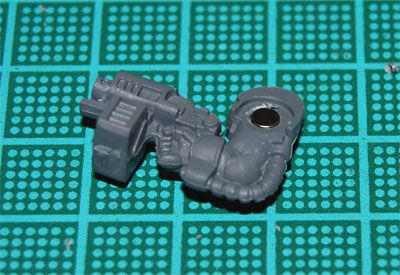
When you have expanded the hole a bit, try fitting the magnet in there. You want it flush against the torso of the terminator, so you don't want to drill too deep. Just keep drilling and trying until the magnet fits. When it does, glue it in place with super glue, or PVA glue. If you're operating on painted miniatures, you may want to use PVA glue, as it won't damage the paint job.
The Torso
While the glue is drying, you can get to work on the torso.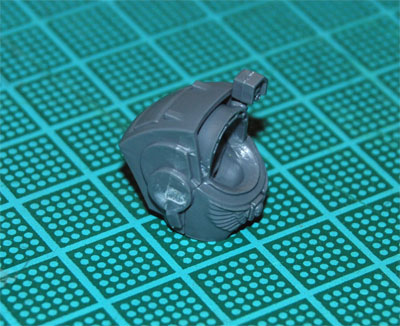
First, drill a small hole once again.
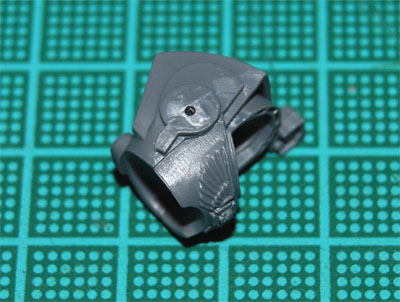
Now, using a proper cutter, cut the head off a nail. The nails I'm using have heads that are about 3mm, perfect for the job. Now, I know this is supposed to be obvious, but make sure to check that the nails are actually magnetic! :) I don't know if nails are ever made of non-magnetic metals, but it doesn't hurt to check.
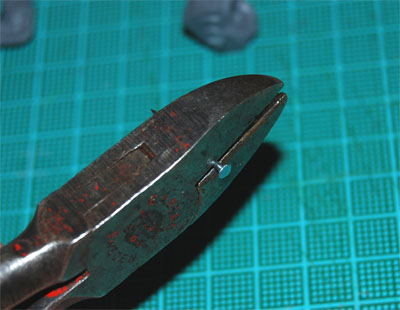
As you cut, cup your other hand around the nail to catch the bits. Otherwise, they might go flying off in random directions, and you don't want that. :)
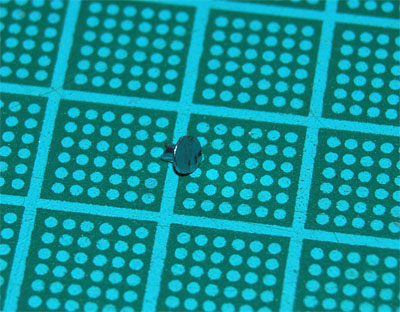
Now expand the hole a bit. I use a 1.5mm drill, about the same thickness as the nail. Then make sure the nail fits in the hole.
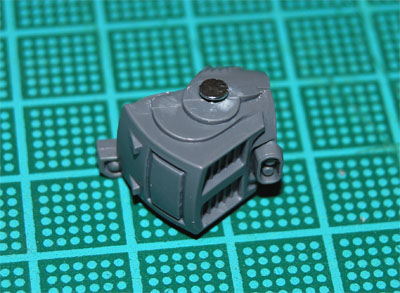
After you've made sure it fits, put the nail to one side. Now, using the bigger 3.2mm drill and/or a knife, cut away material around the hole to make the edges slope inwards, so the nail will go in without sticking out. (Here's where I think it's easier to "sink" a nail instead of drilling a larger hole for a magnet in the torso. Since the magnet is thicker than the head of the nail you can run into trouble when you drill deeper and wider into the torso, since it's hollow.)
When it fits, glue the nail in place.
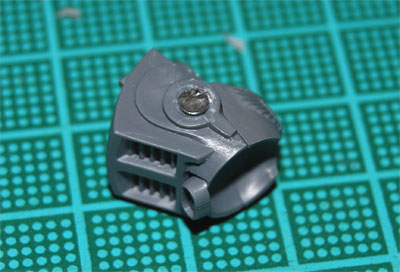
When the glue is dry, you can attach the arm, and take it off, and attach it, and take it off again... You get the idea. :)
For a normal space marine minature, you probably have enough shoulder pads to glue one in place on each arm, so this would be the end of the tutorial. For terminators though, the shoulder pads are rarer, so you may need a way to switch these around as well. Since I'm a nut, I use magnets for this as well. :) And that's the subject of Part 3 that will be posted tonight.
/Stitch


3 comments:
Sweet. I plan to actually do this for my Wolf Lord in terminator armor with storm shield; I want him to be able to switch between thunder hammer, power weapon, and wolf claw as he sees fit, and I was going to magnetize the weapon arm for this reason.
I do have some really, really small rare earth magnets; I'll still see if I can't put the magnet in the torso and the nail head in the arm, since I'm considering three different weapons. However, if this doesn't work, I'll do it the way you've shown here.
Thanks again!
It seems like it would be a better idea (and a cheaper one) to put the nail in the arm and the magnet in the body because you will probably have a lot more arms than you will bodies. Also you could then put the magnets inside of the body instead of on the outside so you wont pull them out (you dont think it would happen, but it will, and it sucks when it happens in between games or something).
Thanks very much for your tutorial. I've been looking at how to do this for my terminators too! Thanks for such precise and clear instructions and naming your tools and suppliers. Makes it very easy to replicate your success! :)
Post a Comment