The first two parts of this series are here:
The right arm
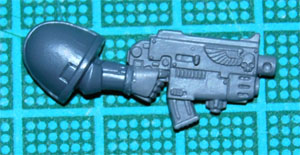
If you've read the first two parts, you know I've been having trouble deciding what arm to use. Well, it's finally decided! This right arm comes from the Devastator sprue: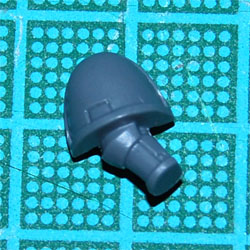
I hope you'll agree it's the "right" arm... Sorry... I had to...
Here it is with the combi-plasma attached:
Unfortunately, the arm comes with the shoulder pad already on it, so I'll lose the chance of using one of the Dark Angels shoulder pads. Unless I cut it up, and I don't want to do that. I'll try to find something else, or freehand a winged sword on there, or something.
The Assembly
The assembly went really smooth. Having done a "dry run" (trying the bits together without glue) really helped.So, after a few dots of plastic glue, here is the result so far:
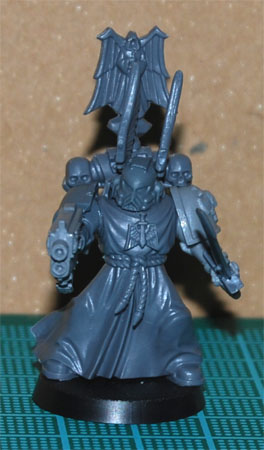
I find it difficult to get good shots of the miniature, but you'll get the idea.
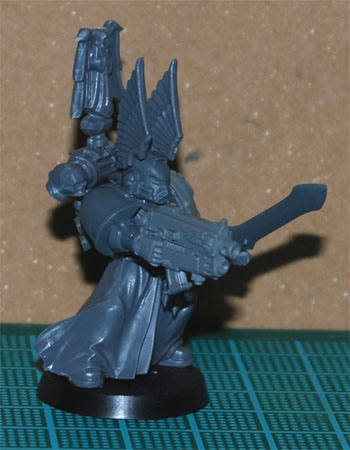
I really think the helmet works, even though the wings are huge. I did fret a little about the icon on the backpack being obscured by them, but the more I look at it, the more I like the mini. He looks beefed up and imposing, and that's how it's supposed to be. I think he'll stand out on the battlefield.
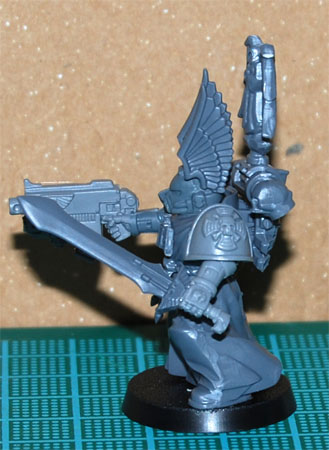
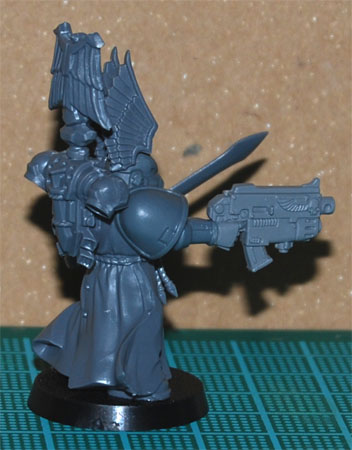
The backpack wasn't glued in place permanently, so I still have the option of going in another direction with it, but I think I may keep it like it is. What do you think?


1 comment:
I really, really dig the wings on the helmet. An all around great and solid conversion... nice!
Post a Comment